When you are driving, safety should be the most important thing on your mind. Your car’s headlights are critical to keeping you and other motorists safe on the road. However, if the headlights start to dim, you won’t be able to see other cars very well – and other drivers won’t see you. Consequently, accidents can occur. Fortunately, there are some effective ways to eliminate the yellowish haze from the headlights. This occurs from oxidation, but you can get the headlights looking as good as new.
Get the Right Items
Firstly, you need certain products and tools to help you restore your headlights. You’ll need multi-surface painter’s tape, a microfiber towel, toothpaste, and a headlight lens sealer. Plus, you will need 400- to 3,000-grit sandpaper, a headlight restoration kit, and a headlight lens restorer kit. Once you have these items ready, you can get started.
Clean the Headlights
Firstly, you need to clean the headlights thoroughly. Using soap and water, scrub the headlights and remove the dirt, grime, and other debris. Moreover, clean the surrounding area, so the tape you will use in the next step will stick.
Tape Off the Headlights
Part of this process involves sanding the lenses, but you don’t want to get any other part of the paint or surrounding trim. To prevent this, use painter’s tape to make a barrier between the lens and the rest of the car.
Start Sanding
Thirdly, you will need to sand the headlight lenses. To do this, you should use the most abrasive sandpaper available. The lower the grit number, the more abrasive the sandpaper is. Next, wet the sandpaper and the headlight. Then begin sanding the lens with straight strokes. Always sand in the same direction. To prevent scratching the lens, keep it wet while you sand.
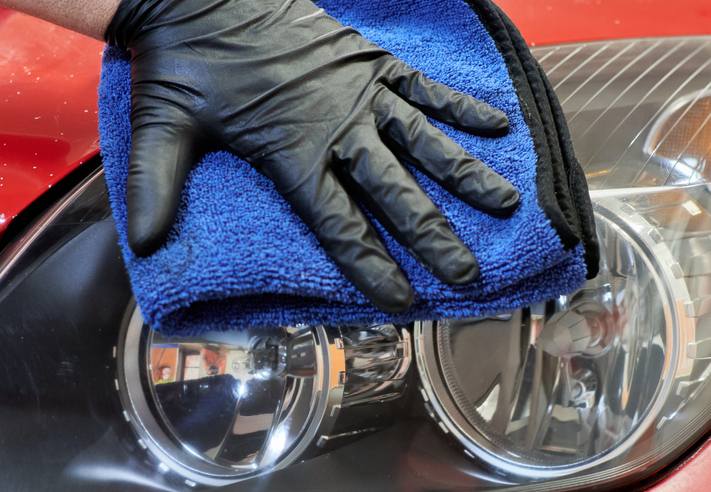
Time to Polish and Wax
Furthermore, you will next want to wipe off and dry the headlights. After you do this, put some polishing compound on a microfiber towel. Take a few minutes to rub in the polish thoroughly. After doing this, wax the lenses. This will protect the lenses.
You might also like: The Ultimate Christmas Shopping List
Use Some Sealant
Headlight lenses come with sealant. However, when you sanded the lenses, you removed this. So you will need to add more. Use a wet paper towel to apply the new sealant. Make sure you get every square inch of the lens. You should only need one layer of sealant to achieve the results you want. Let the sealant dry by parking your car where it won’t get moisture on it.
With these steps, you can help your headlights shine brightly again. If you need other help with your vehicle in Roanoke, VA, bring it to the service team at Berglund Automotive today.
Disclaimer: The stock image is being used for illustrative purposes only, and it is not a direct representation of the business, recipe, or activity listed. Any person depicted in the stock image is a model.